Welcome to the Workflow Designer
Introduction to the Workflow Designer
The Workflow Designer is a powerful, easy-to-use tool that enables you to design and execute a variety of IT and business processes. Through a simple drag-and-drop interface, the processes created can be set to run automatically either in response to a specific event, alert, or incident, or as part of regularly scheduled tasks. The process automation and coordination provided by the Workflow Designer greatly increases efficiency, saving you valuable time and freeing you from continually dealing with routine and repetitive tasks.
To help you get started and create workflows quickly, the Workflow Designer has an extensive collection of built-in categorized activities and contains a large library of pre-built workflow templates. These resources, together with the intuitive drag-and-drop interface, allow you to easily build any scenario required by organizational policies.
Concepts and Terms
The table below explains terms with which you should become familiar before you start using the Workflow Designer.
- Activity—An operative or logical action. Activities may be simple or complex, and they can vary greatly in nature and purpose. Examples of activities are copying a file, sending an email, creating a new user, or retrieving current CPU information. For more information or examples, see:
- Control—A decision point that determines how the workflow will proceed. Examples of controls are conditions such as if/else decisions. For more information or examples, see:
- Workflow—A sequence of activities performed in response to a specific event/alert/incident. For more information or examples, see:
- Incident—An event that indicates a system fault, malfunction or security threat. You can configure the system such that specific incidents invoke one or more relevant workflows.
- Tag—A keyword that is applied to a workflow. Tags are useful for organizing a collection of workflows and for helping users search for a workflow more effectively. For more information or examples, see:
Sample Workflow
The following workflow, which sends a status email after running a ping check, provides an example of the typical design and progression of a sequence of activities configured in the Workflow Designer. Each step of the workflow is explained in the table below the diagram.
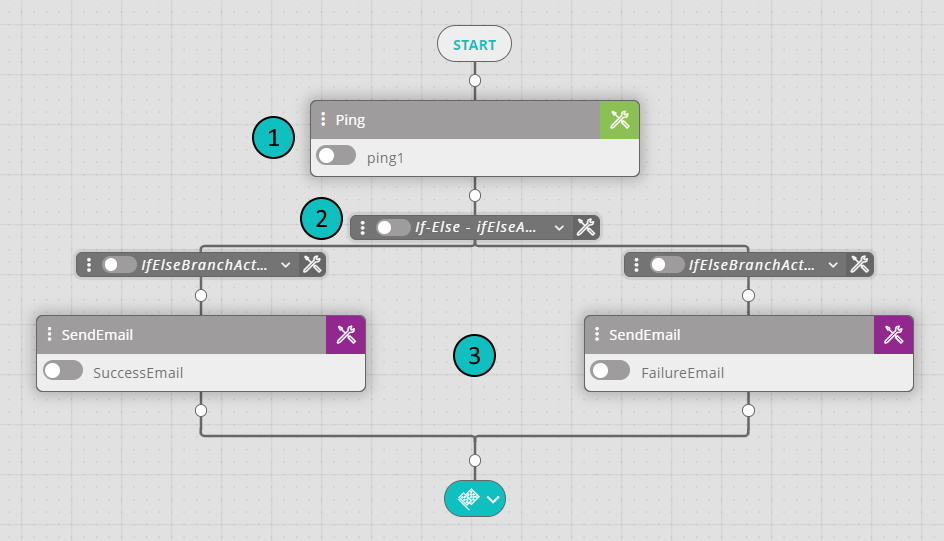
The steps are as follows:
- Ping activity—A ping command is executed to check the status of a server. The relevant IP address is defined in the activity settings.
- If/Else control—At this point, the workflow proceeds in one of two directions, depending on whether the ping command returns Success or Failure.
- Send Email activity—An email is sent to inform one or more administrative users about the server status. The body of the email varies according to which workflow branch is running:
- Success: Server is up.
- Failure: Server is down.
Opening the Workflow Designer
Log in to Resolve Actions Express and open the Navigation menu:
To open the Workflow Designer, open the Main Menu and then select Builder > Workflow Designer.
The Workflow Designer opens with a Welcome window:
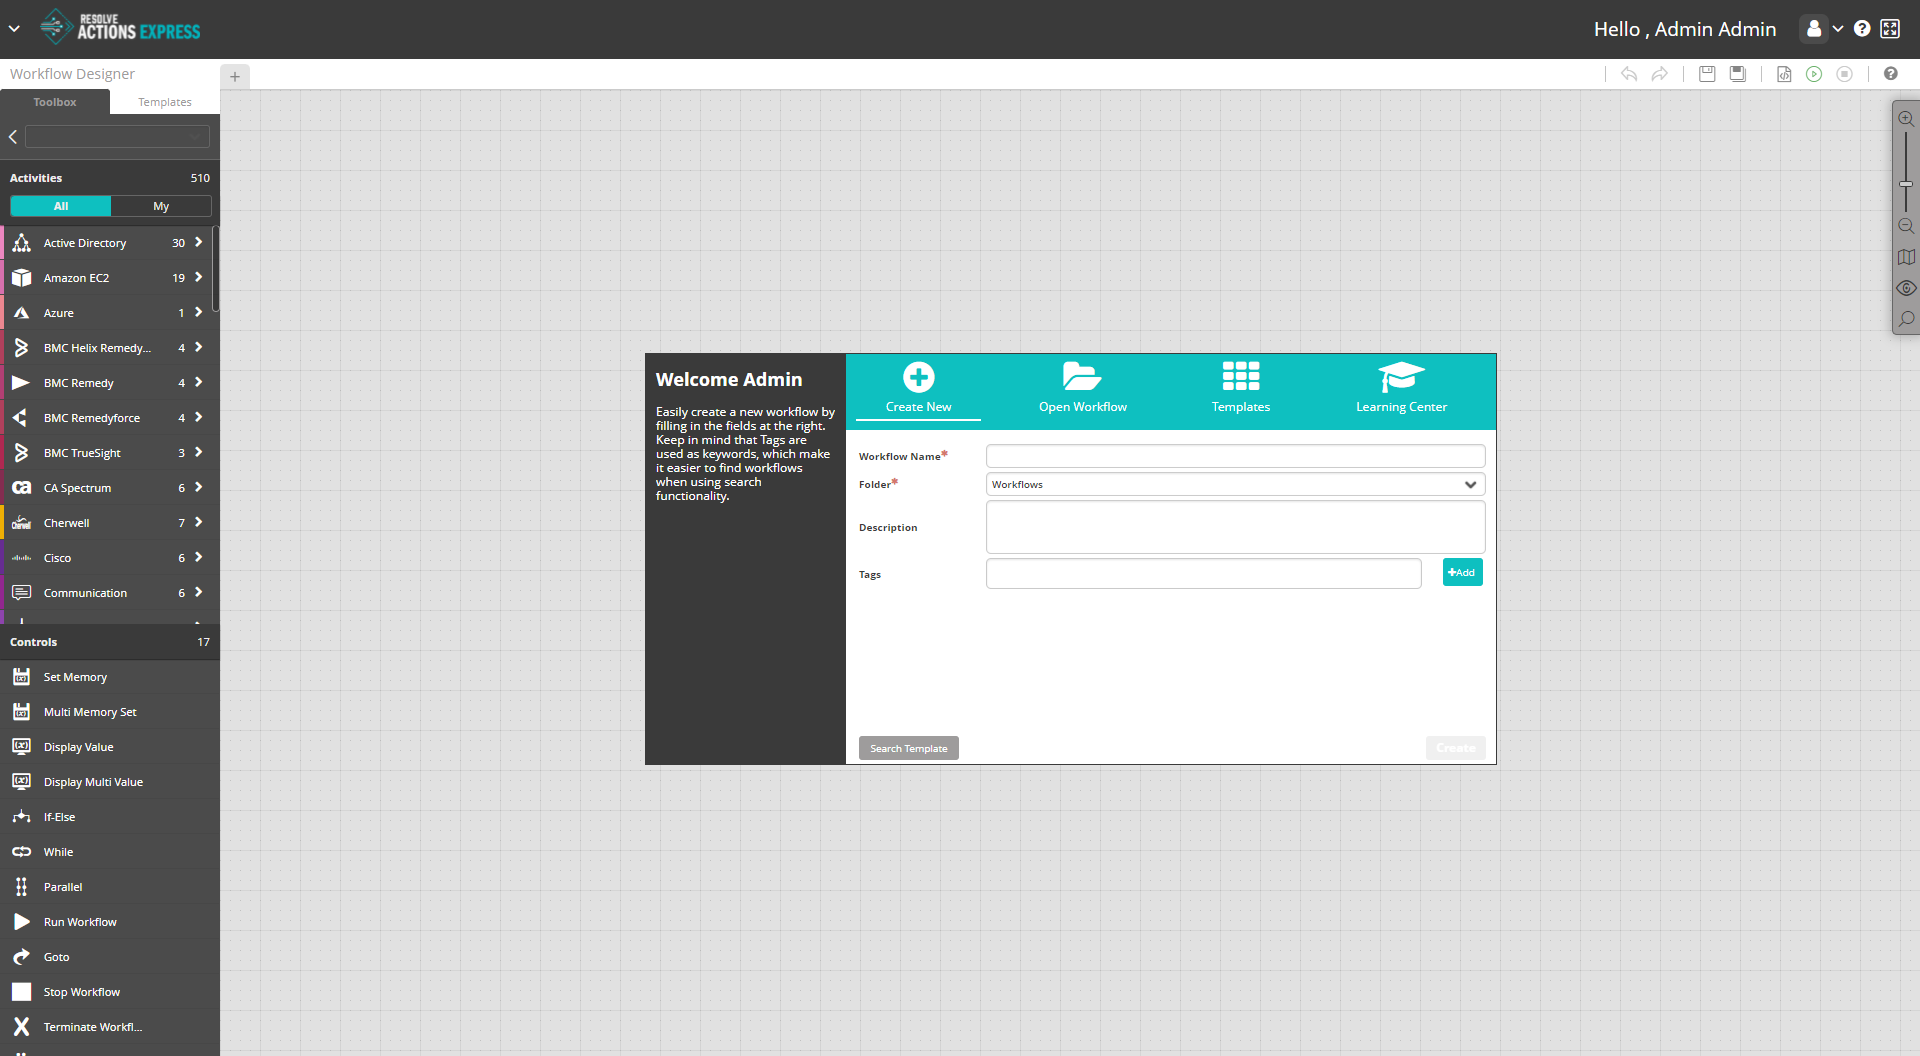
For a short video tutorial on using the Workflow Designer, in the upper-right corner of the Welcome screen, click Learning Center.
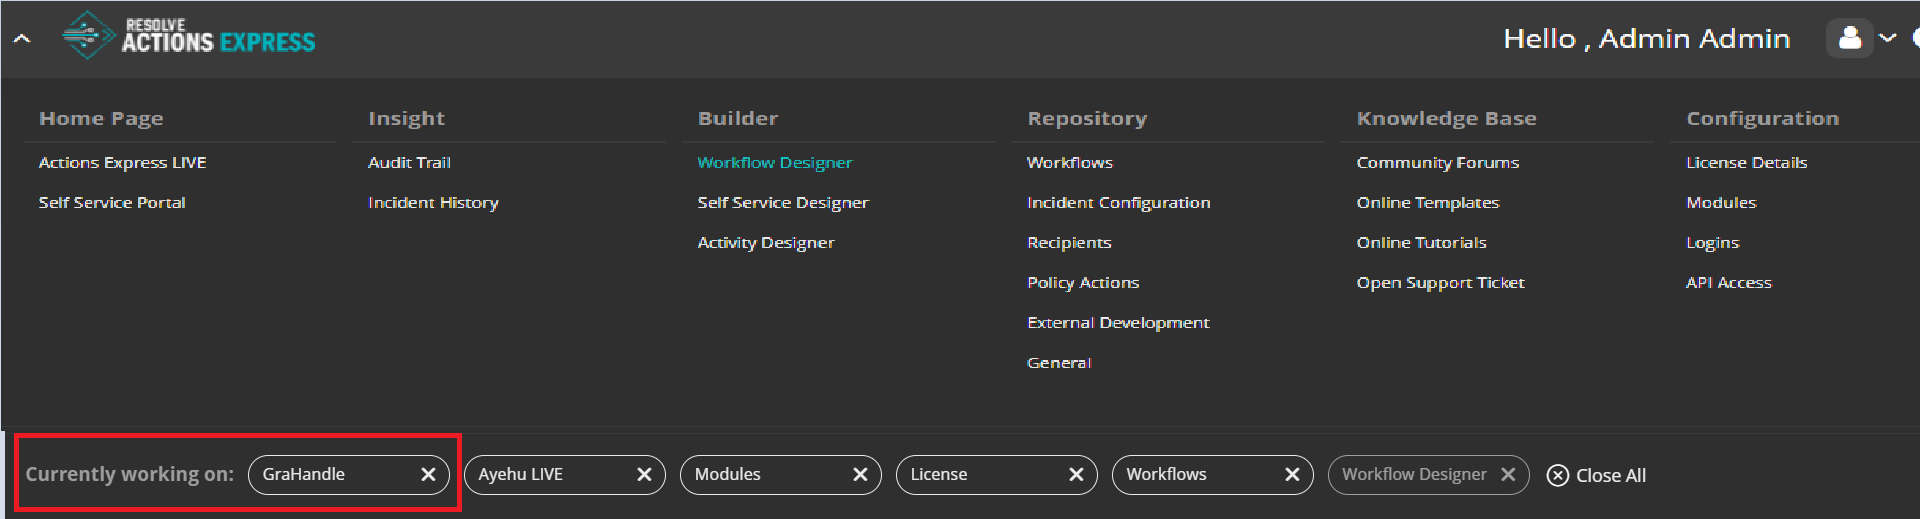
Re-opening the Workflow Designer
If you last quit the Workflow Designer without closing the workflow(s) you were building, a Currently working on quick start bar appears when you next access the Designer from the Navigation menu. To launch the Designer and open a specific workflow at the same time, select the workflow from the quick start bar.
If you do not use the quick start bar and launch the Designer by clicking Workflow Designer (from the navigation menu), the Designer automatically opens with all previously open workflows displayed.